Views: 222 Author: Amanda Publish Time: 2025-09-22 Origin: Site


Content Menu
● Understanding Vacuum Casting and Its Quality Challenges
● Master Model and Mold Quality Control
>> High-Precision Master Models
>> Silicone Mold Inspection and Upkeep
● Resin Preparation and Conditioning
>> Accurate Mixing and Degassing
● Vacuum Suction and Mold Venting
>> Effective Mold Venting Channels
● Temperature Control and Curing Cycle
>> Adhering to Precise Curing Times
● Dimensional Accuracy and Shrinkage Compensation
>> Tight Tolerance Expectations
>> Measurement and Verification
● Defect Detection and Inspection Techniques
>> Ultrasonic and X-Ray Testing
● Mold Maintenance and Replacement
● Post-Processing Quality Checks
● FAQs
>> 1. What are the most common defects in vacuum casting, and how can they be prevented?
>> 2. How accurate is vacuum casting in terms of dimensional tolerance?
>> 3. How long do silicone molds last for vacuum casting?
>> 4. What inspection methods ensure vacuum casting quality?
>> 5. Why is resin pre-heating critical in vacuum casting?
Vacuum Casting is a precise and efficient manufacturing process widely utilized for producing highly detailed and accurate prototype parts, small batch productions, and functional components. By injecting resin into silicone molds under vacuum conditions, this method eliminates air bubbles and minimizes porosity, delivering superior surface finishes and dimensional accuracy. However, to maintain consistency and quality in vacuum cast parts, a series of stringent quality control measures must be meticulously followed throughout the entire process.
This article presents a comprehensive guide on the key quality control measures necessary in vacuum casting to ensure reliable, defect-free, and dimensionally accurate parts. It examines every stage from master model creation to post-casting inspection, emphasizing practical techniques and standards that optimize quality using vacuum casting technology.

Vacuum casting begins with the creation of a master pattern, typically made by CNC machining or high-resolution 3D printing, which sets the foundation for the silicone mold. Polyurethane or other resins are then fed into the mold under vacuum pressure, which helps to evacuate air and reduce defects caused by trapped gas.
Despite the advantages, vacuum casting poses several quality challenges:
- Porosity and Air Traps: Incomplete evacuation of air leads to internal bubbles, weakening the part structure.
- Dimensional Deviations: Resin shrinkage and mold wear can cause inconsistencies in size and shape.
- Surface Imperfections: Rough textures, discoloration, or micro-cracks diminish aesthetic and functional quality.
- Mold Deterioration: Repeated use degrades silicone molds, affecting replication accuracy.
- Inconsistent Resin Mixing: Improper resin preparation can result in weak or misshapen parts.
Robust quality controls are thus essential to overcoming these challenges and maintaining the integrity of vacuum cast products.
The master pattern is the critical reference for all subsequent parts. High-precision manufacturing methods such as CNC machining or SLA 3D printing deliver exact dimensions and fine surface details. Any inaccuracies at this stage replicate across all parts, so investing in quality masters is fundamental.
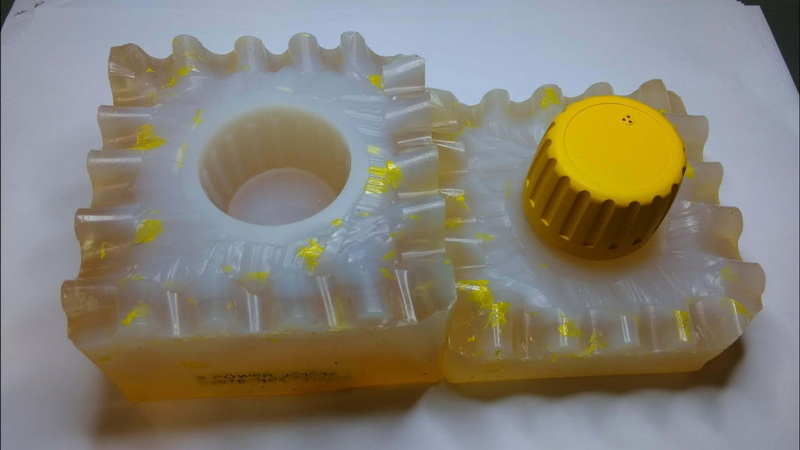
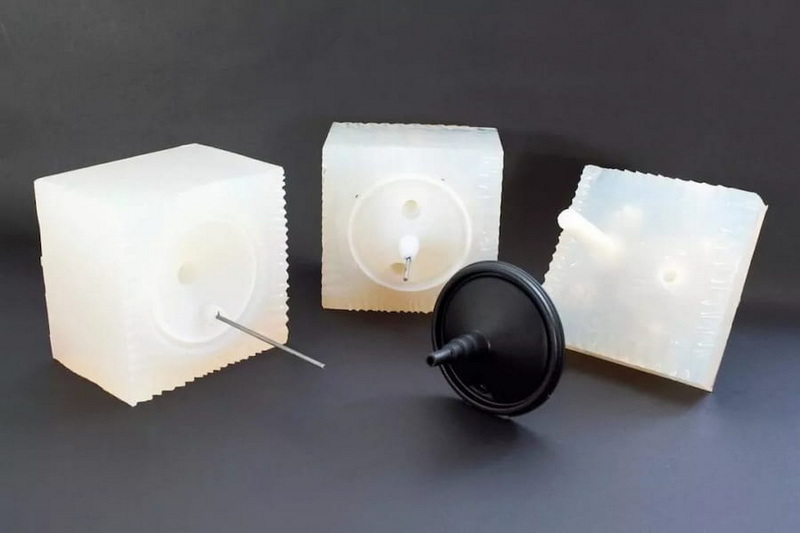
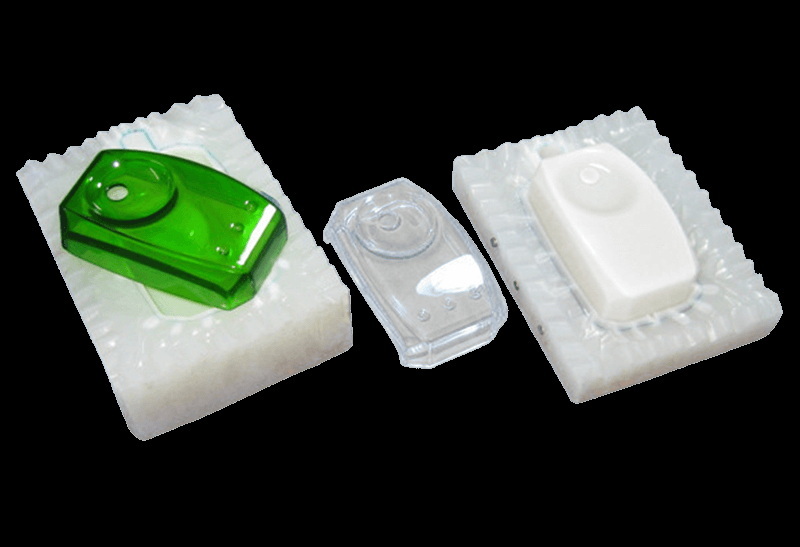
Silicone molds, usually made from RTV or HTV silicone, require careful fabrication and inspection to ensure defect-free cavities. Defects such as air bubbles within the mold or surface distortions directly transfer to the cast parts. Molds typically last 20–25 casts for RTV silicone and up to 300–500 casts for higher-grade HTV silicone.
Regular inspections, including visual checks and vacuum hole cleaning, help maintain mold quality and consistency. Polishing of the mold surface and repairing minor defects extends its useful casting lifetime.
Achieving high-quality vacuum cast parts starts with precise resin preparation. The two-part polyurethane resin must be mixed in correct ratios to ensure complete curing and strength. Mixing errors can cause incomplete reactions or residual softness.
Following mixing, thorough degassing under vacuum removes trapped air within the resin, which would otherwise cause internal porosity. Degassing times and vacuum levels vary by resin type but remain a critical step in quality assurance.
Pre-heating resin to an optimal temperature reduces viscosity, enabling easier and more complete mold filling. Proper flow characteristics prevent incomplete filling and minimize cold spots or warping, resulting in parts that match the master perfectly.
The vacuum setup must generate sufficient pressure to evacuate air from the mold cavity and resin chamber, typically around 29 inHg (inches of mercury). However, overly aggressive vacuum application can deform delicate molds or cause resin to overflow. Adjustable vacuum controls calibrated for specific mold and resin combinations optimize part quality and mold longevity.
Vent pathways incorporated strategically in the mold design allow air to escape easily during resin injection. Proper positioning of vents at part edges, bosses, and deep cavities prevents trapped air pockets that cause misruns or blowholes in parts. Separate vent holes drilled and connected to vacuum suction ensure smooth flow and complete mold filling.

Maintaining consistent temperatures during casting and curing stages reduces residual stress in parts and ensures uniform polymerization. Fluctuations in temperature can cause uneven curing, warping, or shrinkage, resulting in warpage or internal stresses that compromise mechanical strength.
Curing schedules must align with resin manufacturers' recommendations, balancing time and temperature for optimal hardness and durability. Over-curing can cause brittleness, whereas under-curing leaves the part soft or tacky. Automated temperature controls and timers help maintain process consistency.
Vacuum casting generally achieves dimensional tolerances of ±0.05 mm on parts smaller than 100 mm, whereas larger parts see around ±0.3% tolerance of their overall dimension. This precision depends strongly on mold quality, resin properties, and temperature stability.
Polyurethane resins shrink about 0.15% during curing. Experienced mold makers compensate for this by scaling master models or adjusting mold dimensions to ensure the finished parts conform closely to specifications. Continuous monitoring and adjusting for shrinkage help maintain batch-to-batch consistency.
Regular dimensional inspections using calipers, micrometers, or advanced Coordinate Measuring Machines (CMMs) verify parts against design data. Digital and laser scanning technologies offer high accuracy and quick turnaround, enabling early detection of deviations.
Visual examination remains a foundational inspection step. Skilled inspectors evaluate surface finish for defects such as bubbles, discoloration, cracks, and uneven texture. Magnification and specialized lighting reveal subtle imperfections needing correction.
Internal porosity, cracks, or inclusions invisible externally can be detected by ultrasonic testing, which measures sound wave transmission through the part. X-ray inspection offers detailed visualization of internal structures and volume defects, critical for components with complex geometries or high safety requirements.
For detecting micro-cracks on the surface, dye penetrant testing involves applying liquid dye that seeps into fine cracks. After drying, a developer exposes penetrated dye, highlighting flaws for removal or repair.
Going beyond surface inspection, dimensional and geometric accuracy is validated through tools like CMMs, laser scanners, and optical comparators, confirming parts meet stringent tolerances required by engineering specifications.
After each casting cycle, molds undergo cleaning to remove resin residues and contaminants that compromise surface finish or mold flex. Vacuum hole maintenance prevents blockages that hinder air evacuation.
Mold wear gradually reduces part quality by altering cavity size or surface texture. Scheduled inspections identify premature wear. Replacement decisions leverage log data on mold cycle counts and observed defects to maintain continuous quality.
Beyond casting, post-processing steps further enhance and verify quality in vacuum casting:
- Trimming and Deburring: Removing flash or excess material ensures final part aesthetics and dimensional conformity.
- Surface Finishing: Sanding, polishing, spray painting, or coating enhance appearance and durability.
- Assembly Checks: For multi-part assemblies, test fit and bonding strength inspections guarantee proper function and reliability.
Vacuum casting is a versatile, cost-effective process ideal for high-detail prototyping and small-scale manufacturing. However, strict quality control measures are imperative to realize its full advantages. From master model precision and mold integrity to resin preparation, vacuum optimization, temperature management, and thorough inspection techniques, every step influences the final part quality.
Adapting these comprehensive quality control practices prevents common defects such as porosity, dimensional variances, and surface inconsistencies. Regular monitoring, maintenance, and post-processing assurances further enhance product reliability. Through disciplined adherence to these quality principles, vacuum casting can consistently deliver parts that meet demanding functional and aesthetic requirements in diverse industries.

Common defects include porosity (air bubbles), shrinkage-related distortions, surface roughness, and incomplete fills. Prevention involves proper resin degassing, optimized vacuum levels, effective mold venting, strict temperature control, and regular mold maintenance.
Vacuum casting achieves tolerances as tight as ±0.05 mm for small parts and approximately ±0.3% of part dimensions for larger components, influenced by master pattern precision, mold condition, and resin shrinkage control.
RTV silicone molds typically yield 20 to 25 parts before quality degrades, while higher-grade HTV silicone molds can produce 300 to 500 parts with consistent accuracy.
A combination of visual inspection, ultrasonic and X-ray testing, dye penetrant crack detection, and precise dimensional measurements (using calipers, CMMs, or laser scanners) assures comprehensive defect identification.
Pre-heating resin lowers its viscosity, promoting smooth, complete mold filling and reducing cold spots or voids. This step is essential for consistent flow, minimizing defects, and improving part uniformity.
[1](https://fcc-na.com/quality-control-in-aluminum-castings/)
[2](https://www.ditaiplastic.com/vacuum-forming-quality-control/)
[3](https://aludiecasting.com/die-casting-quality-control-complete-guide-2025/)
[4](https://www.3erp.com/blog/vacuum-casting/)
[5](https://formlabs.com/blog/vacuum-casting-urethane-casting-polyurethane-casting/)
[6](https://www.cnkaierwo.com/blogs/vacuum-casting-materials-selection-guide.html)
[7](https://www.rapid-protos.com/vacuum-casting-process-guide/)
[8](https://millennitek.com/wp-content/uploads/2016/08/H-5800-0660-01-A-EN-Vacuum-Casting-Techniques-User-Guide-Screen.pdf)
[9](https://super-ingenuity.cn/guides/vacuum-casting-design/)
[10](https://www.creatingway.com/achieving-quality-control-in-die-casting-process/)
content is empty!
Top CNC Machining Parts Manufacturers and Suppliers in Japan
Top CNC Machining Parts Manufacturers and Suppliers in Germany
Top CNC Machining Parts Manufacturers and Suppliers in Italy
Top CNC Machining Parts Manufacturers and Suppliers in Russia
Top CNC Machining Parts Manufacturers and Suppliers in Portugal