Views: 222 Author: Amanda Publish Time: 2025-10-21 Origin: Site


Content Menu
● Understanding Vacuum Mold Casting
● Importance of Testing Vacuum Mold Casted Parts
● Visual Inspection Techniques
● Non-Destructive Testing (NDT) Methods
>> X-Ray and Computed Tomography (CT) Scanning
>> Tensile and Compression Tests
● Dimensional Accuracy and Surface Finish Measurement
>> Coordinate Measuring Machines (CMM)
>> Laser Scanning and Optical Profilometry
● Environmental and Durability Testing
>> Chemical Resistance Testing
>> UV Exposure
● Integration of Automated Inspection Systems
● Process Monitoring and Feedback Control
● FAQ
>> 1. What materials are commonly used in Vacuum Mold Casting?
>> 2. How does Vacuum Mold Casting reduce defects compared to traditional casting?
>> 3. Can Ultrasonic Testing detect both surface and internal defects?
>> 4. What advantages do automated inspection systems offer?
>> 5. How does environmental testing enhance part reliability?
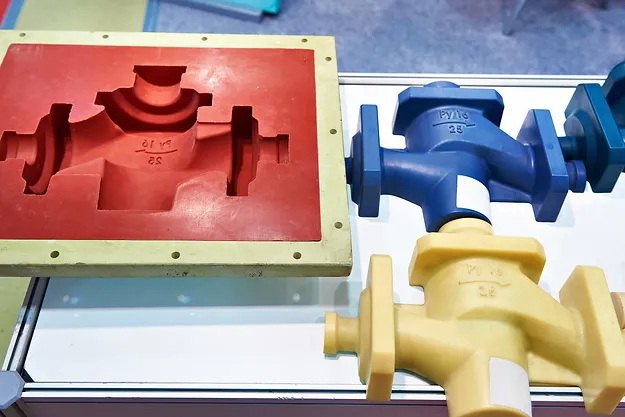
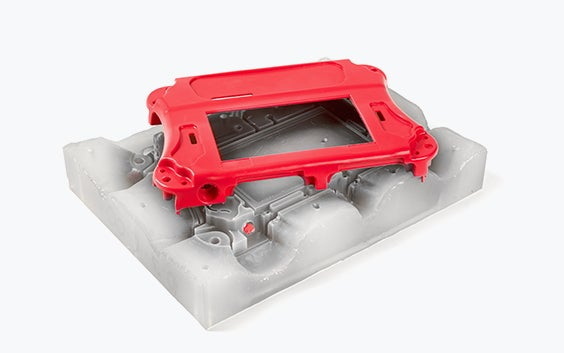
Vacuum Mold Casting is an innovative manufacturing technique widely used in rapid prototyping, precision batch production, and OEM services for various industries. This process involves pouring liquid material into a mold within a vacuum environment, minimizing air bubbles and defects, resulting in highly accurate and high-quality casted parts. For companies like Shangchen(sc-rapidmanufacturing.com), specializing in Vacuum Mold Casting along with CNC machining, 3D printing, and sheet metal fabrication, ensuring the reliability and performance of these parts is crucial.
In this comprehensive article, we will explore advanced testing methods specifically designed for Vacuum Mold Casted Parts. These methods help manufacturers identify flaws early, maintain strict quality control, and ensure that end-users receive parts that meet exacting standards.

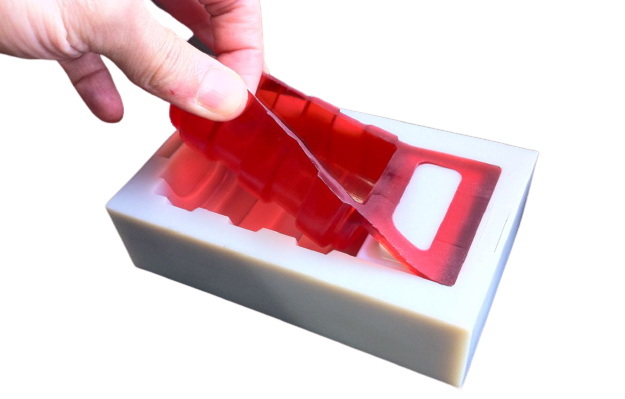
Vacuum Mold Casting reduces internal defects such as porosity and shrinkage by creating a low-pressure environment during material solidification. Common materials include silicone, polyurethane, and resins, suitable for producing functional prototypes and small series production with fine detail and smooth surfaces.
The vacuum environment pulls the liquid material into every corner of the mold, improving replication of complex geometries. This sets Vacuum Mold Casting apart from standard casting techniques, obtaining parts with higher surface quality and dimensional precision. It is especially favored for applications where tight tolerances and fine features are required.
Testing Vacuum Mold Casted Parts ensures that the components meet structural integrity, mechanical performance, and aesthetic criteria. Because these parts frequently serve as prototypes, functional models, or even end-use components, quality assurance prevents failures down the supply chain.
Defects like porosity, incomplete filling, surface blemishes, or material inconsistencies can seriously degrade part performance. Validating these issues with rigorous testing protects brand reputation and avoids costly field problems.
Testing also provides feedback for process improvements, helping manufacturers optimize casting parameters for consistent quality. For OEM clients, comprehensive test reports confirm that parts meet or exceed design requirements, building trust.
Visual inspection acts as the initial screening step for quality control. Inspectors examine parts under various lighting conditions, sometimes using magnification tools, to identify surface cracks, uneven textures, or coloration differences.
Advanced visual methods include using polarized light or UV lamps to reveal defects invisible to the naked eye. These techniques are quick, non-invasive, and cost-effective, but depend greatly on inspector skill and attention.
Visual inspection checks for signs of surface contamination, burn marks, or deformations caused during the casting or demolding process. Confirming a flawless external appearance is critical before progressing to more detailed testing.
NDT allows comprehensive defect detection without damaging the part, preserving its functionality.
Ultrasonic Testing emits high-frequency sound waves into the part. Defects such as internal cracks, voids, or inclusions reflect these waves back to a sensor, producing signals that indicate their size and location.
Ultrasonic scanning can inspect complex geometries in Vacuum Mold Casted Parts and detect flaws that would otherwise cause premature failure. Portable ultrasonic devices facilitate on-site inspection during production or after delivery.
X-ray imaging creates 2D images showing internal structures, while CT scanning compiles multiple X-ray slices to deliver a detailed 3D reconstruction of the part.
CT scanning excels in identifying internal porosity, trapped air bubbles, voids, or incomplete mold filling, which critically affect performance. These technologies provide quantitative data on defect sizes and spatial distribution, guiding process optimizations.
Although more expensive and time-consuming than other techniques, CT scanning is invaluable for highly critical parts requiring near-perfect internal integrity.
This method applies a liquid dye that penetrates any surface-breaking defects like cracks or pores. After a dwell period, excess dye is removed, and a developer is sprayed to draw the dye out of flaws, making them visible under standard or UV light.
Dye Penetrant Testing is highly sensitive to minute surface discontinuities and complements ultrasonic and X-ray inspections by focusing on external integrity.

Mechanical testing confirms the physical robustness of Vacuum Mold Casted Parts and validates their suitability for functional applications.
These tests involve applying controlled forces to the part to determine stress-strain behavior, yield strength, ultimate tensile strength, and elongation at break. Results indicate how the material responds to real-world loading conditions.
For Vacuum Mold Casted Parts, testing ensures that process parameters have not adversely affected properties, validating that parts can withstand operational stresses.
Indentation hardness tests, such as Rockwell or Shore hardness, measure surface resistance to deformation. This helps confirm material consistency and surface treatment effectiveness.
Hardness impacts wear resistance and durability, which are crucial for components exposed to friction or mechanical contact.
Fatigue tests simulate repeated loading cycles that parts endure in use. These tests reveal weaknesses that static tests might miss, identifying potential failure points over time.
Fatigue life assessment is especially important for structural or moving parts produced via Vacuum Mold Casting.
Ensuring parts meet exact dimensional tolerances is fundamental in Vacuum Mold Casting quality control.
CMMs use precise probes to map part geometries with micron-level accuracy, verifying adherence to design specifications. Manufacturers input CAD models and compare scanned data to detect deviations.
Non-contact methods like laser scanners and optical profilers capture surface topography without damage. These systems assess surface roughness, waviness, and texture, which affect part aesthetics and function (e.g., sealing surfaces).
Dimensional control prevents assembly issues and ensures parts fit correctly in complex systems.
Vacuum Mold Casted Parts often face harsh operational environments that can degrade performance. Environmental testing simulates these conditions to verify longevity.
Repeating heating and cooling cycles test parts for thermal expansion stress resistance, material aging, and dimensional stability under temperature variation.
Exposing parts to solvents, oils, or other chemicals evaluates resistance to degradation, swelling, or discoloration, critical for automotive and medical applications.
For outdoor or light-exposed parts, UV aging tests simulate sunlight exposure to assess color stability and material breakdown.
These tests simulate shocks and drops during handling or use, verifying impact resistance and identifying fracture risks.
With advances in artificial intelligence, machine vision, and robotics, automated inspection systems are becoming standard in Vacuum Mold Casting production lines.
These systems combine high-resolution cameras, sensors, and AI algorithms to quickly analyze part surfaces and internal structures inline. They flag defects in real-time, enabling immediate corrective actions and reducing human error.
Automated inspection improves throughput, traceability, and repeatability, essential for large-scale OEM production while maintaining the highest quality standards.
Beyond post-production inspection, integrating sensors into the Vacuum Mold Casting process allows live monitoring of pressure, temperature, and material flow. Data-driven feedback loops optimize casting conditions to minimize defects proactively.
Real-time process control helps reduce scrap rates, saves cost, and enhances consistency across production batches.
Advanced testing methods for Vacuum Mold Casted Parts play a pivotal role in ensuring product excellence, reliability, and customer satisfaction. Combining visual inspection, state-of-the-art non-destructive testing, mechanical characterization, precise dimensional verification, and environmental durability assessments enables manufacturers to detect and eliminate defects comprehensively.
With the adoption of automated inspection systems and integrated process monitoring, companies like Shangchen(sc-rapidmanufacturing.com) can deliver superior Vacuum Mold Casting services tailored to demanding OEM requirements. These thorough testing protocols guarantee parts that are not only visually flawless but structurally sound and fit for purpose in diverse industrial applications.

Vacuum Mold Casting frequently uses silicone, polyurethane, and various resin materials optimized for detailed prototyping and small batch production with excellent surface finish.
The vacuum environment eliminates trapped air and gas, significantly reducing porosity, shrinkage, and surface blemishes compared to conventional casting methods.
Ultrasonic Testing is primarily effective for internal flaw detection. Surface defects usually require complementary methods like visual or dye penetrant inspection.
Automated systems increase inspection speed, accuracy, and consistency while reducing human error and enabling real-time quality control during production.
By simulating real-world stresses such as temperature changes, chemical exposure, and mechanical impacts, environmental testing verifies that parts can endure their operational lifespan without failure.
content is empty!
Top CNC Machining Parts Manufacturers and Suppliers in Japan
Top CNC Machining Parts Manufacturers and Suppliers in Germany
Top CNC Machining Parts Manufacturers and Suppliers in Italy
Top CNC Machining Parts Manufacturers and Suppliers in Russia
Top CNC Machining Parts Manufacturers and Suppliers in Portugal