Views: 222 Author: Amanda Publish Time: 2025-09-02 Origin: Site


Content Menu
● Introduction to CNC Lathe Turning
● Importance of Precision in CNC Lathe Turning
● Understanding Tolerances in CNC Lathe Turning
● Types of Tolerances in CNC Lathe Turning
>> c. Surface Finish Tolerances
● Factors Affecting Precision and Tolerances
>> b. Cutting Tool Quality and Wear
● Best Practices to Achieve High Precision
● CNC Lathe Turning in Different Industries
● Advanced Technologies Enhancing Precision
>> a. CNC Lathe Machines with Live Tooling
● Frequently Asked Questions (FAQ)
>> 1. What is the typical tolerance range achievable with CNC Lathe Turning?
>> 2. How do material properties affect CNC Lathe Turning precision?
>> 3. Can CNC Lathe Turning achieve both tight tolerances and good surface finish simultaneously?
>> 4. How often should a CNC lathe machine be calibrated to maintain precision?
>> 5. What are common challenges when working with tight tolerances on CNC lathe turning?
CNC Lathe Turning is a fundamental manufacturing process used across various industries for creating precise cylindrical parts. For brands, wholesalers, or manufacturers who depend on high-quality components, understanding precision and tolerances in CNC lathe turning is essential. This article delves deep into the concepts of precision, tolerance types, the factors influencing them, and practical tips to optimize CNC Lathe Turning operations to meet strict quality requirements.

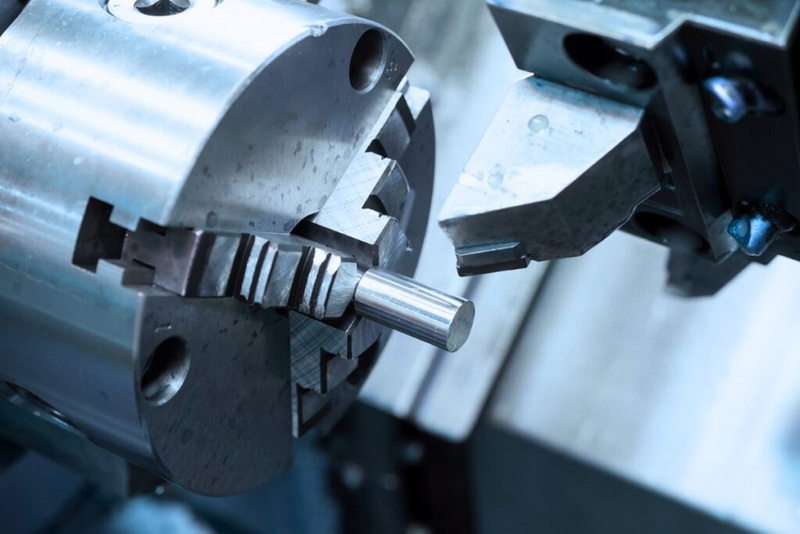
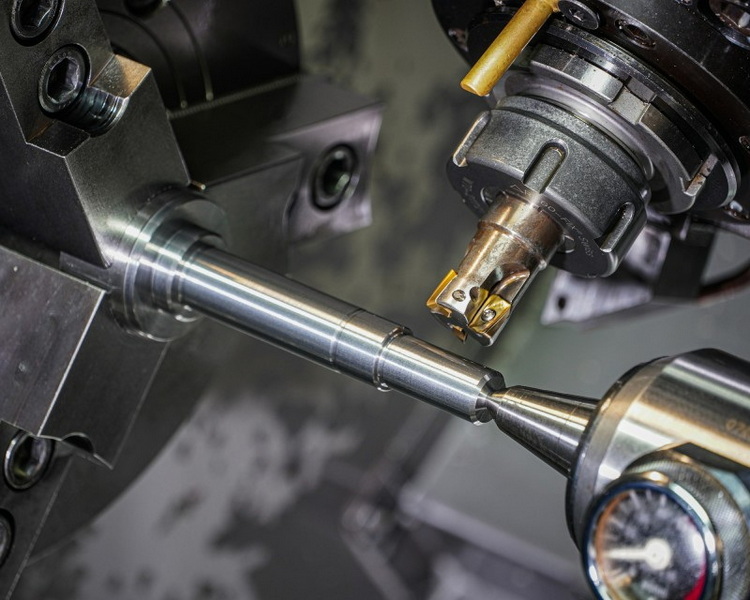
CNC Lathe Turning is a machining process where a computer-controlled lathe rotates the workpiece while cutting tools shape the material to desired dimensions. This process is widely used for manufacturing cylindrical or symmetrical parts such as shafts, pins, pulleys, and rings.
The integration of CNC (Computer Numerical Control) technology ensures repeatability, accuracy, and the ability to handle complex geometries with minimal human intervention. This precise control differentiates CNC Lathe Turning from traditional manual lathe work, enabling higher throughput and tighter tolerances with consistent quality.
- High precision and repeatability
- Flexibility in material and design complexity
- Faster production times with automation
- Ideal for both prototyping and large batch productions
- Capability to produce complex geometries and features with multi-axis controls
Because of these advantages, CNC Lathe Turning remains a cornerstone technology in modern manufacturing environments—from small startups quickly iterating prototypes to established OEMs producing millions of precision components yearly.
Precision is how close the manufactured part's dimensions are to the nominal or target values repeatedly. In CNC Lathe Turning, precision enables:
- Consistent quality output
- Reduced rework and scrap
- Improved fit and functionality of parts in assemblies
- Customer satisfaction and trust for OEMs
Inaccurate parts can lead to costly assembly issues, premature wear, and even system failures, especially in critical applications like aerospace or medical devices. Precision machining ensures minimal variance between parts when produced in large quantities, which is essential for interchangeable components and seamless assembly lines.
When tolerances are not adequately met, brands risk product recalls, warranty claims, and damage to reputation. Hence, precision and tolerance considerations are central throughout the CNC Lathe Turning process—from programming to quality inspection.
Tolerance defines the allowable deviation from the nominal dimension, essentially the quality boundary within which the part is acceptable. Understanding and specifying correct tolerances is vital because:
- Overly tight tolerances increase manufacturing costs and time due to slower machining, more frequent inspections, and potential scrap
- Too loose tolerances can negatively affect part functionality, assembly integrity, and durability
To specify tolerance effectively, engineers must balance manufacturing capabilities, functional requirements, and cost.
- Nominal Dimension: The target size or design dimension per engineering drawings
- Upper Limit: The maximum acceptable size of a dimension
- Lower Limit: The minimum acceptable size of a dimension
- Tolerance Zone: The difference between the upper and lower limits describing acceptable size variation
Properly defined tolerances ensure parts fit together as intended without excessive play or interference and perform reliably under load or motion.

The precision of CNC machining is controlled not only through linear dimensions but also through geometric and surface quality characteristics. Let's explore these in detail.
Dimensional tolerance refers to deviations along linear measurements such as diameter, length, and thickness. For example, a shaft may be specified as 50.00 mm ±0.02 mm, meaning its diameter must lie within 49.98 mm to 50.02 mm.
Geometric dimensioning and tolerancing (GD&T) controls the shape, form, orientation, and location of features ensuring functional compliance beyond just simple size.
Some critical geometric tolerances in CNC Lathe Turning include:
- Roundness: Verifies that cross-sections are perfectly circular, ensuring rotational balance and fit.
- Cylindricity: Controls the roundness, straightness, and taper along the entire cylindrical surface. High cylindricity is crucial for rotating parts to prevent wobbling.
- Concentricity: Ensures the axis of the turned feature aligns with the datum axis within a specific tolerance, important for assemblies requiring precise alignment.
- Runout: Controls surface deviations when the part rotates, critical for minimizing vibration in high-speed applications.
Surface finish affects not only aesthetics but also the mechanical performance of parts. Surface roughness is measured by parameters such as Ra (roughness average), which quantifies the minute peaks and valleys on the machined surface.
In CNC Lathe Turning, surface finish is influenced by cutter sharpness, feed rate, cutting speed, and the use of coolants or lubricants. A smoother finish can reduce friction, wear, and fatigue—increasing the component's lifespan.
Achieving specified precision and tolerance levels depends on multiple factors—each must be monitored and controlled for optimal CNC Lathe Turning outcomes.
The mechanical condition of the CNC lathe plays a vital role. Machine wear, backlash in lead screws, spindle runout, or thermal expansion during operation can cause deviations.
Routine maintenance, periodic calibration, and temperature control environments help maintain machine integrity for consistent precision.
Cutting tools must be appropriate for the material and feature being machined. Tool geometry influences chip flow and cutting forces.
Worn or chipped tools cause dimensional inaccuracies and surface defects, so tool condition monitoring and timely replacement are essential.
Materials vary widely in hardness, ductility, thermal conductivity, and machinability. Some materials like stainless steels or titanium alloys are challenging due to work hardening or heat sensitivity.
Material selection affects cutting parameters and tolerance achievable without excessive tool wear or deformation.
Optimal speed, feed rate, and depth of cut must be programmed based on the material and tooling to minimize vibrations and heat buildup while maximizing accuracy.
The workpiece must be securely clamped and aligned in the chuck or collet. Improper fixturing leads to runout and positional errors.
Custom fixtures sometimes improve precision for complex or delicate parts.
Temperature variations cause thermal expansion of both the workpiece and the machine components, influencing dimension stability.
Controlled environments and temperature compensation techniques improve repeatability.
To maximize the benefits of CNC Lathe Turning and consistently meet tight tolerance requirements, manufacturers should adopt these best practices:
- Use the correct tool geometry and sharp cutting edges: Choosing the right insert shape and grade suitable for the specific material ensures smooth cutting and less tool wear.
- Optimize feed rates and spindle speeds: Balancing speed and feed reduces heat and tool load, improving part finish and dimensional control.
- Maintain machines and calibrate regularly: Scheduled maintenance addresses wear and mechanical play before they degrade precision.
- Implement in-process measurement: Using probes or laser scanning allows real-time feature inspection, enabling immediate correction and reduced scrap.
- Employ proper fixturing techniques: Securing the workpiece prevents vibration and displacement, critical for repeatability.
- Use cooling and lubrication: Coolants reduce cutting temperatures, improving tool life and enabling finer surface finishes.
- Train programming and machine operators: Skilled personnel can anticipate potential tolerance issues and adapt techniques accordingly.
Consistent application of these practices can reduce downtime, improve yield, and maintain customer satisfaction.
CNC Lathe Turning's significance spans a broad range of industrial sectors, each with unique tolerance demands.
- Automotive: Engine shafts, transmission components, and steering parts require high dimensional accuracy and surface quality for safety and performance under high stress and temperatures.
- Aerospace: Airframe components, turbine shafts, and hydraulic system parts have demanding concentricity and surface finish requirements, often with very tight tolerances to ensure reliability and compliance with regulatory standards.
- Medical: Surgical instruments, implants, and diagnostic devices call for micron-level accuracy and impeccable surface finishes to meet strict hygiene and functional criteria.
- Electronics: Small precision connectors and enclosures require tight tolerances for proper assembly and performance in compact, sensitive devices.
- Industrial Machinery: Bearings, rollers, and drive components must endure heavy loads and continuous operation; tight tolerances ensure longevity and efficiency.
Each industry leverages CNC Lathe Turning differently but shares a common emphasis on the balance of precision and cost-efficiency.
Manufacturers continue to expand CNC Lathe Turning capabilities by adopting new technologies that further improve precision and productivity.
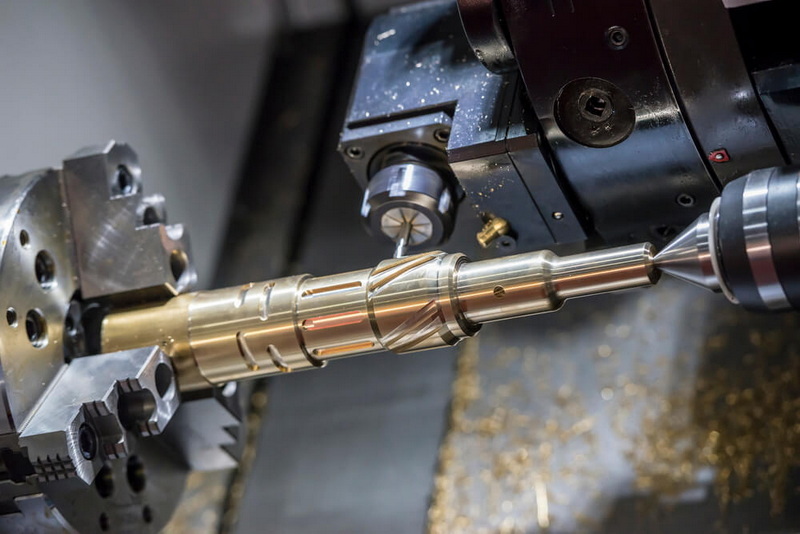
Live tooling adds milling, drilling, and tapping capabilities within a single lathe setup, reducing handling and setup errors. This enables more complex features with better geometric precision.
Laser measurement, touch probes, and coordinate measuring machines integrated into CNC machines provide immediate quality feedback. This closed-loop monitoring helps detect deviations instantly, allowing automatic adjustments.
Machines capable of 4, 5, or more axes can perform intricate operations without multiple re-setups, minimizing errors from part repositioning and improving precision.
The integration of AI algorithms enables predictive maintenance and real-time process optimization. AI can analyze cutting data to recommend parameter changes preventing tool wear-induced errors.
Precision and tolerances in CNC Lathe Turning are crucial for producing high-quality components that meet stringent design specifications. Understanding the nature of different tolerance types, factors affecting machining precision, and adopting best practices combined with advanced technologies enable manufacturers to significantly improve part quality. Whether working on prototypes or mass production runs, effective tolerance management ensures operational efficiency, cost savings, and customer satisfaction.
As industries increasingly demand smaller tolerances and more complex geometries, continual investment in machine maintenance, tooling, training, and metrology will remain key for any CNC Lathe Turning operation aspiring to maintain competitive advantage.

Most standard CNC lathes can reliably achieve tolerances of ±0.005 mm (±5 microns) for engineering materials. Specialized machines and stable setups can push this further to ±0.001 mm or better.
Materials with high hardness or poor machinability increase tool wear and thermal effects, which can reduce dimensional accuracy. Softer materials might deform under cutting forces, impacting tolerance control.
Yes. By optimizing cutting parameters and using high-quality sharp tools, CNC Lathe Turning can produce parts with very tight dimensional control and excellent surface finishes in the same operation.
Calibration depends on machine usage but is commonly recommended every 6 months or following any major maintenance or tool change to ensure reliable accuracy.
Common challenges include tool wear, machine thermal expansion, vibration, workpiece holding stability, and measuring capability. Proactive monitoring and adjustment help mitigate these issues.
content is empty!
Top CNC Machining Parts Manufacturers and Suppliers in Japan
Top CNC Machining Parts Manufacturers and Suppliers in Germany
Top CNC Machining Parts Manufacturers and Suppliers in Italy
Top CNC Machining Parts Manufacturers and Suppliers in Russia
Top CNC Machining Parts Manufacturers and Suppliers in Portugal